Building My First PC
I use a Mac for all my software development needs, but recently I decided I wanted to build a PC. I had an old one sitting around for the occasional game, but it was really old - Windows 8 was new when it came out, making it about 8 years old. Also, it wasn't built for any sort of performance, being a stock machine meant for home office use.
Lately, I've wanted to do some extracurricular projects outside of programming and writing about JavaScript. Building a PC seemed like a fun project, as I'd learn a bit about how a computer works under the hood, it's inspired me to set up a sweet battlestation and get some decent gear, and I'd have a much better machine for when I do play games or if I want to do anything with 3D modeling. So I went ahead and built one.
After having built one myself now, I can say I'm really glad I decided to do this. For anyone who uses a PC for any reason, not even just games or development, I'd highly recommend building your own as well. It's been a long, long time since I've used a computer with Windows, but in my experience of buying pre-built PCs, they were always loaded up with all the crapware and antivirus software that the hardware manufacturers ship along with Windows. I'm amazed at how fast and clean it is when you do it all yourself.
There was a bit of research I had to do and lingo I had to learn to get up to speed to doing this, so I'll share with you all the components needed, the ones I got, how much they cost, and how to set it up. I am by no means an expert, and as a result my write up might be most helpful for absolute beginners.
Here is my final parts list.
Getting Started
When building a PC, PCPartPicker will be your best friend. You can browse through builds others have made, pick from recommended builds for your needs, and create your own part lists. I was overwhelmed by all the parts, what I should get, what build I should go with, and whether or not the parts would be compatible with each other, and the final build I went with ended up varying a bit from what I started off with.
The questions that will determine your part list are:
- What will you be using the PC for?
- What is your price range?
I knew I wanted something around $1200 or below, and I was going to use it for casual gaming, music, and maaaybe a small amount of streaming, 3D modeling, or development work. I ended up paying less than $1200 for the box alone, but the peripherals (monitor, keyboard, webcam, speakers) and other necessities (Windows) made the whole package cost quite a bit more.
I put off pulling the trigger and doing a build for months and months because I wasn't sure if it was going to be worth it or if it was just going to be an extra thing I don't use since I prefer Macs. I realized I play games with friends enough to make it worth it, especially during quarantine.
You can really build something decent for $400-$500 if you don't care about gaming at all. The Build Guides on PCPartPicker have a lot of recommended builds, so I used the Excellent AMD Gaming/Streaming Build as a base for mine.
Parts
There are 6 essential parts every build needs. There are some additional things you can add, like custom cooling systems and optical drives, but I didn't need any of that.
- CPU - the central processing unit, the primary component or "brains" of a computer. AMD and Intel are the main brands.
- Motherboard - the main printed circuit board that connects all the parts of a computer together. CPU, RAM, graphics cards, storage, drives, etc. will all hook into the motherboard.
- Memory - the RAM (random access memory) is where a computer stores and retrieves data on a short-term (volatile) basis.
- Storage - long-term (non-volatile) storage for a computer. These used to be stored in spinning hard drives but now frequently use SSD (solid state drive).
- Video card - the GPU (graphics processing unit) or graphics card, responsible for rendering images to the screen. AMD and NVIDIA are the main brands.
- Power Supply - the PSU (power supply unit) converts power from the source (outlet) into the correct format and voltage. This is what plugs into the wall.
- Case - technically not required (I've seen PC builds that are just a bunch of random parts on the wall) but most people want a body to put it all inside.
Okay, that's not too bad. I think all the parts make sense - power, long-term data storage, short-term memory, graphics, processing, and the One Board to connect them all.
My choices

Here are the choices I made and why.
- CPU - AMD Ryzen 5 3600 - honestly, I asked a friend whether or not to go with Intel or AMD, and they recommended AMD. I doubt there's much of a different ultimately. This one was highly rated.
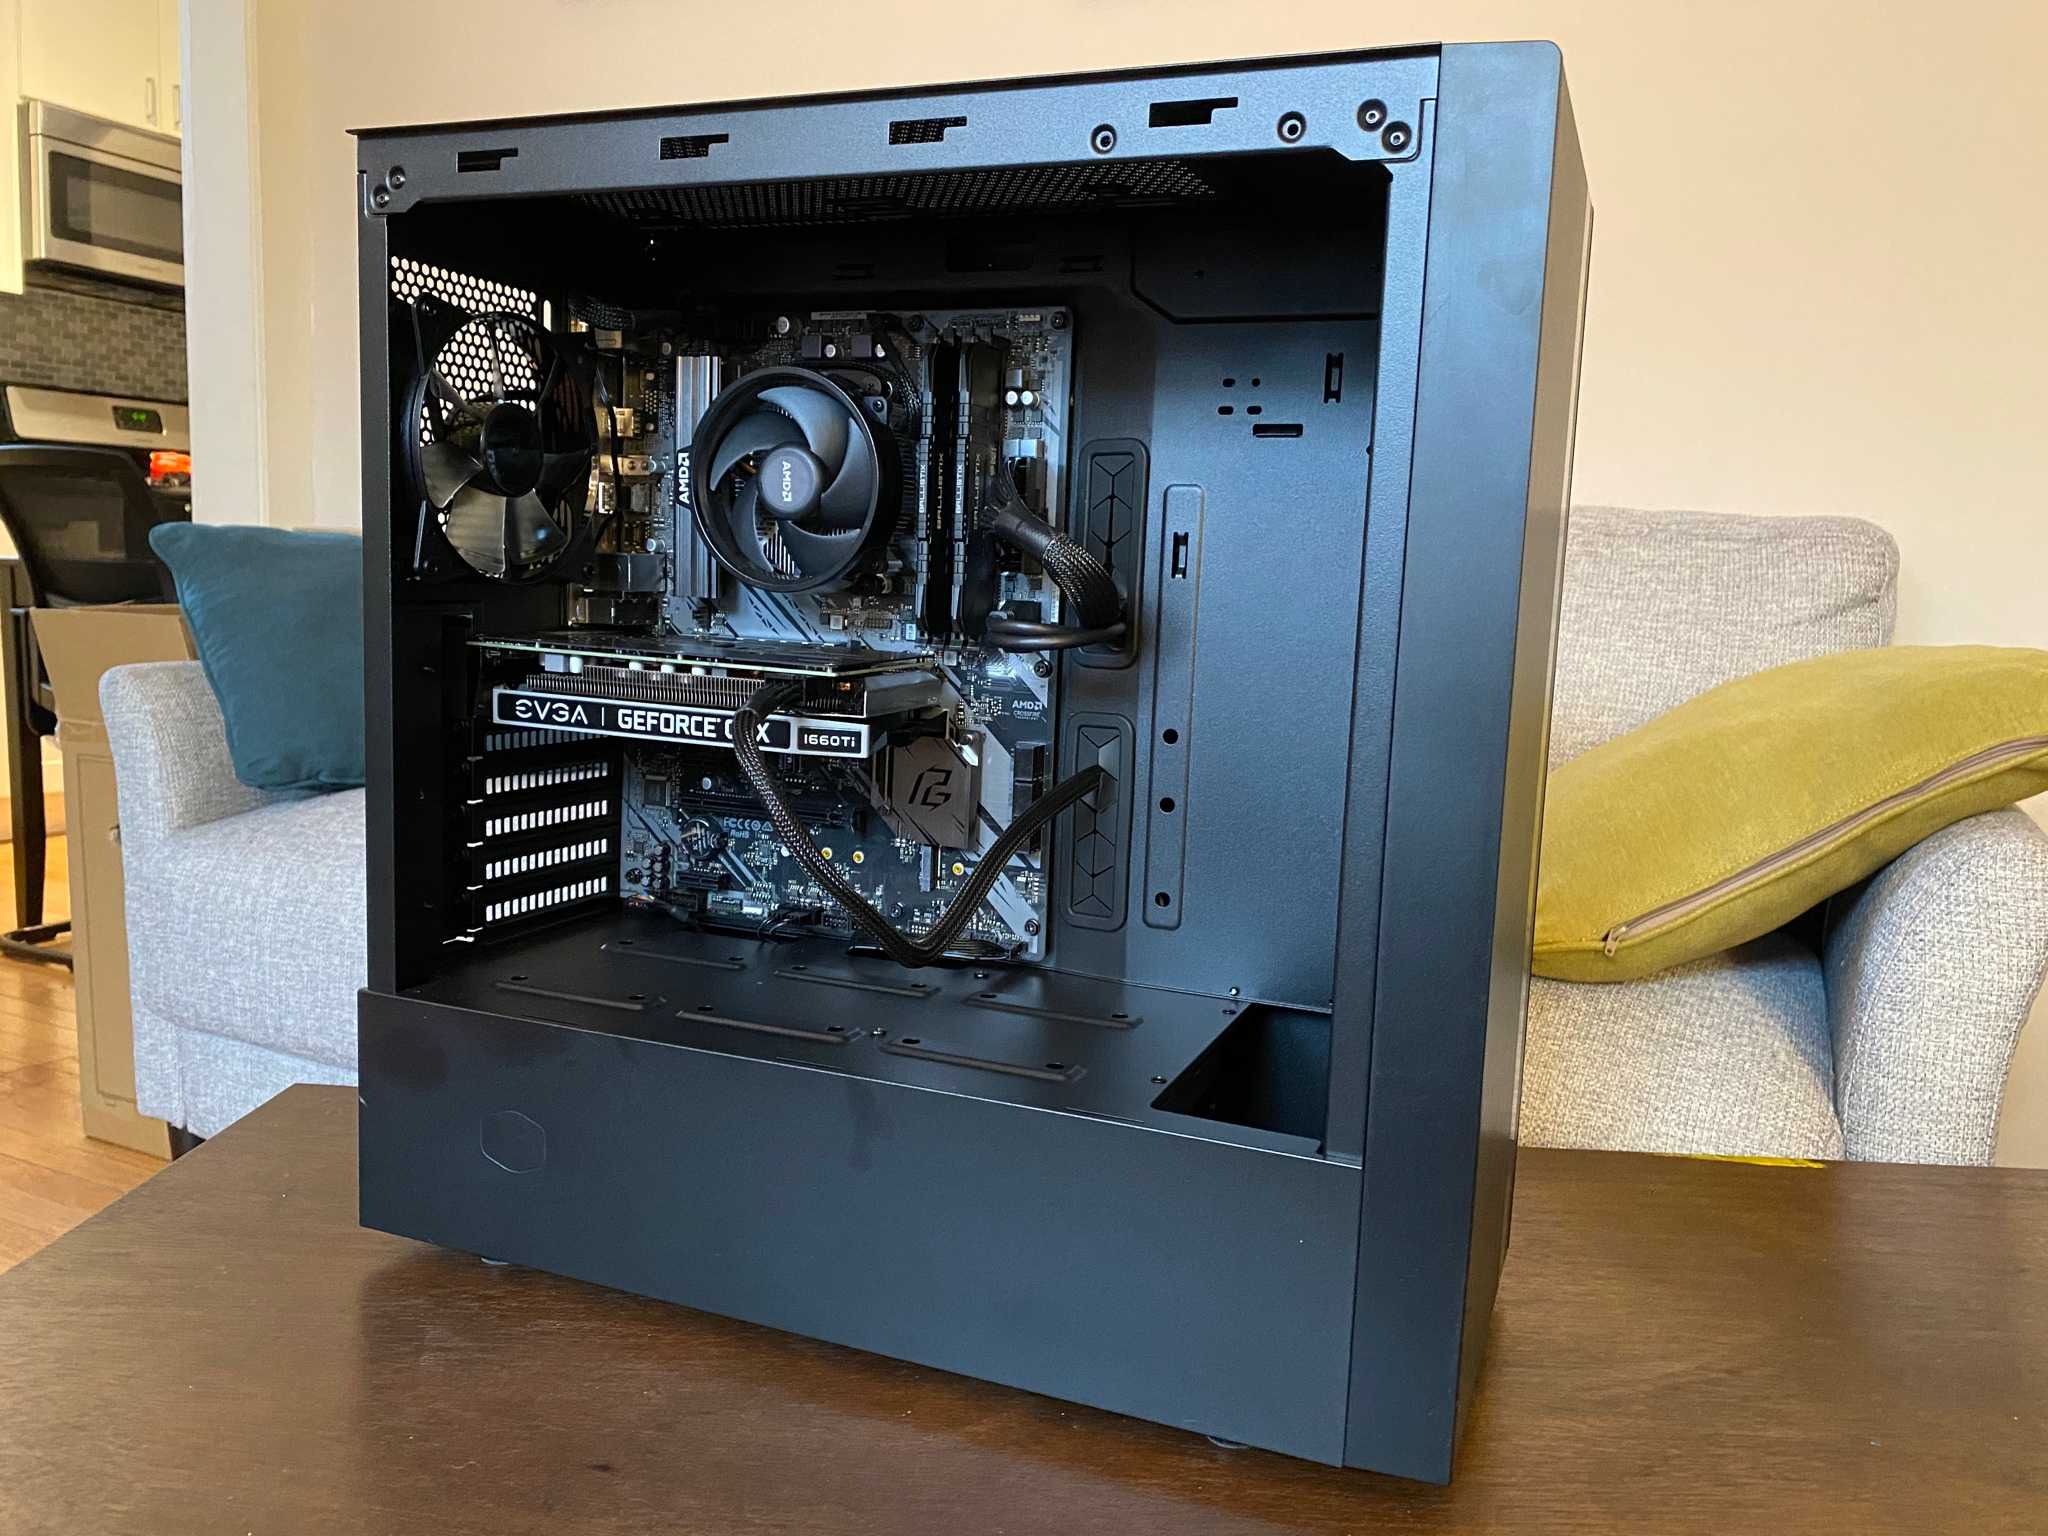
- Motherboard - ASRock B550 Phantom Gaming 4 - the motherboard and CPU go together, so you choose based on that compatibility. This one has 8 USB ports. Note that although it has an HDMI port, you will use the HDMI port on the graphics card, as the AMD CPU does not have integrated graphics and instead relies on the graphics card.
- Memory - Crucial Ballistix 32GB Kit (2 x 16GB) DDR4-3600 - the build I selected 16GB RAM, but I went with 32GB (2 sticks of 16GB). More RAM is always better, why not?
- Storage - SSD 970 EVO NVMe M.2 1TB - a solid state drive is the only option, and this NVMe M.2 style was supported on the motherboard and extremely convenient to set up.
- Video card - graphics cards are the big part that people often replace when they want an upgrade to their gaming experience. I didn't need anything too intense for my games as I don't play anything very intensive. The initial one I wanted (RTX 2070) was sold out everywhere, along with my second choice (Radeon RX 5700 XT). The one I got was a tier behind, but still more than enough for my needs, and I saved $200+, so that was a win! If you care a lot about the stats, there are plenty of sites that do benchmarking between different graphics cards.
- Power supply - EVGA SuperNOVA 650 G+, 80 Plus Gold 650W, Fully Modular - I got a fully modular power supply, meaning you can connect only the parts you need.
- Case - MasterBox NR600 without ODD - ODD is optical disk drive (like DVD), which I didn't need to support. I got an inexpensive case that looked tasteful and had nice airflow. I realized it's kind of big and I could have gone with a smaller case, but not really a big deal.
Putting it together
Of course, I had no idea how to put it all together, so I looked it up. All you need is a regular Phillips head screwdriver. I followed this video: How To Build A PC - FULL Beginners Guide + Benchmarking. I was lucky enough that he was using basically the same CPU, motherboard, and storage type as me, and the rest doesn't matter. I also felt good that the video was only a few months old and using the parts I chose, so I know I got some decent stuff.
The steps were as follows:
- Put the CPU in the motherboard - the step entails putting the tiny little CPU chip in the right slot on the motherboard and locking it in.
- Attach the fan to the CPU/motherboard - a fan came with my CPU, and I just had to unscrew four screw and screw in the fan in their place.
- Attach the motherboard to the case - just find where all the ports are facing outwards, put it in the right slot, and screw it in.
- Install the RAM - there are four slots for RAM, and I put it in slots 2 and 4.
- Install the SSD - it goes into a slot and screws in with one tiny screw.
- Install the GPU - I took two segments off the side of the case for the display ports, and the GPU just clicks in to one long slot.
- Install the PSU - find all the cables you need and put them into the right slots - CPU, graphics, motherboard. Then you have to hook them up to the correct pins on the motherboard. One important note is that the video I watched had SATA, and my build did not need to use the SATA at all. Also install the fans into the pins and anything else that needs to be hooked up.
The whole thing probably took 2 hours or so, but it was also my first time doing it and I was learning where everything is.
Turning it on

At this point I had little to no confidence that this was going to turn on, as it seemed crazy that this could work on the first try and I didn't plug something into the wrong slot. I connected the keyboard, mouse, ethernet, and monitor, I flipped the power switch, clicked the on button, and it booted up!
But it displayed this message:
Reboot and Select proper Boot device
or Insert Boot Media in selected Boot device and press a key_
First of all, what is with the capitalization here? It looks like the constitution. In any case, pressing any key didn't work. I forgot to include Windows before turning it on. I just wanted to see if it worked and did anything first.
I turned it off, inserted the Windows USB, and same message. After looking it up, I found someone suggesting to rapidly press delete 20 times right after turning it on. I did this, and then I was able to go through the Windows installation wizard.
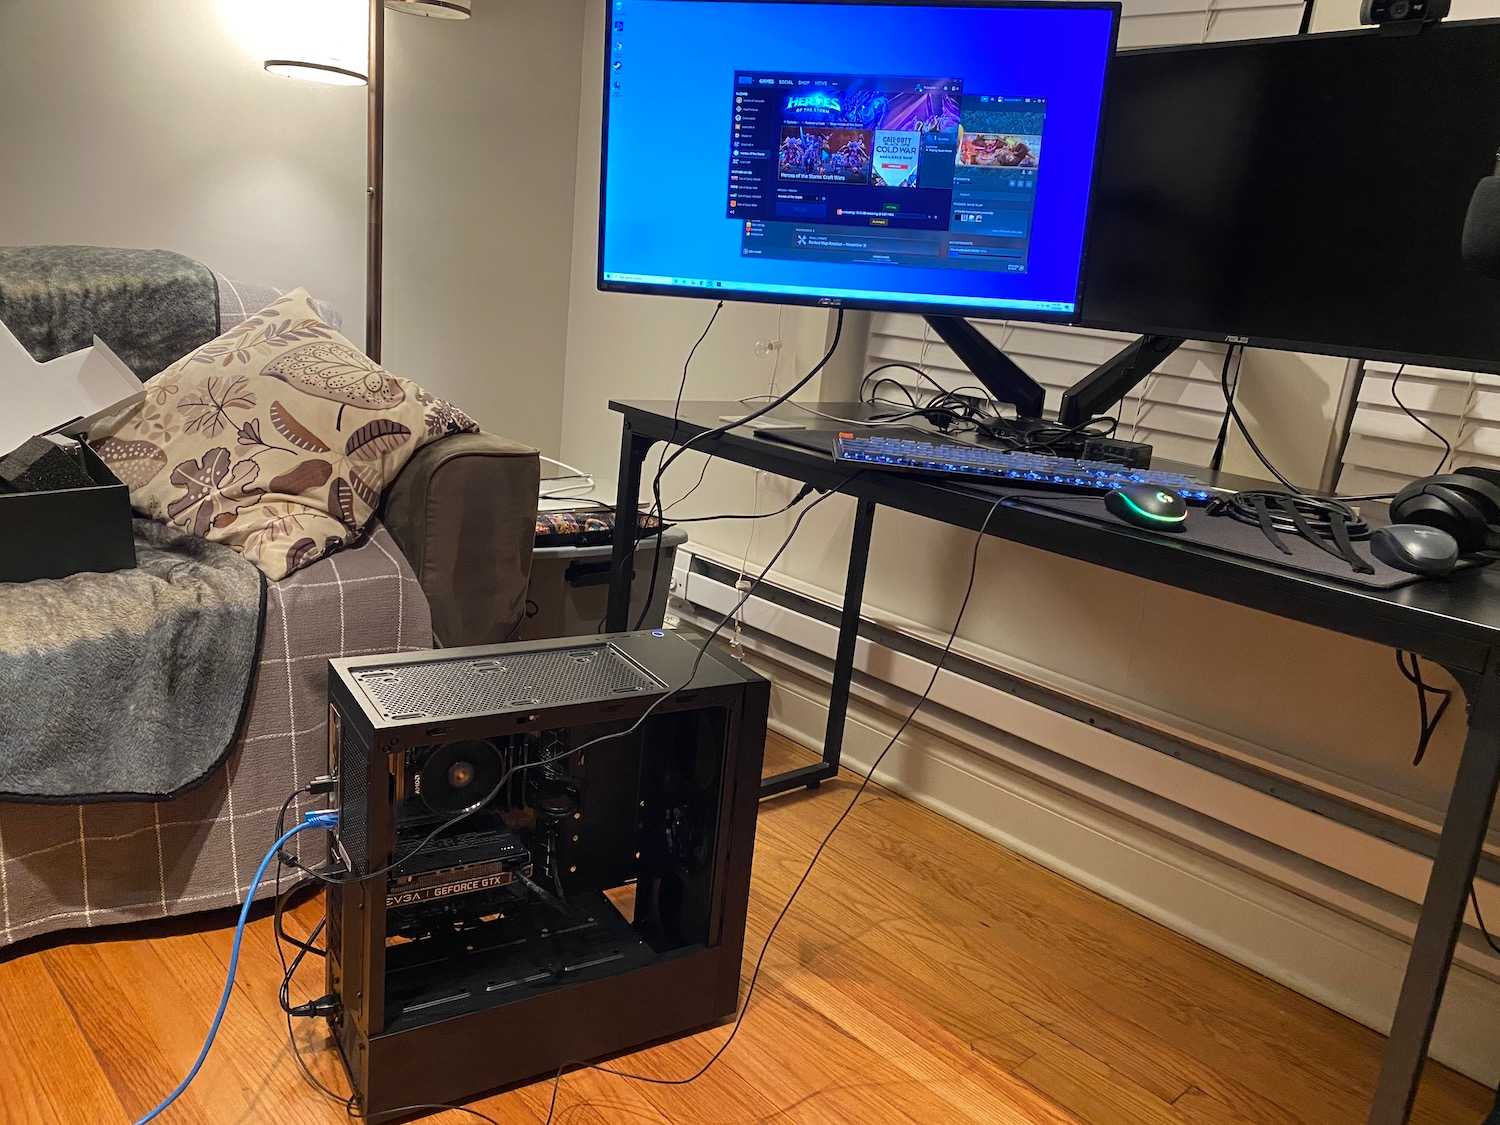
After that was all set up, I was really blown away by how fast it was. Everything worked great, the computer starts up in 3 seconds and is ready to go, and there's no additional start up software. For this reason alone, I'd recommend anyone who uses a PC to build their own for the next one.
Peripherals
Another aspect to consider is the peripherals - keyboard, monitor, mouse, speakers, mic, webcam, headphones, etc. I didn't know anything about that stuff, as I was using the cheapest stuff Walgreens could offer until now.
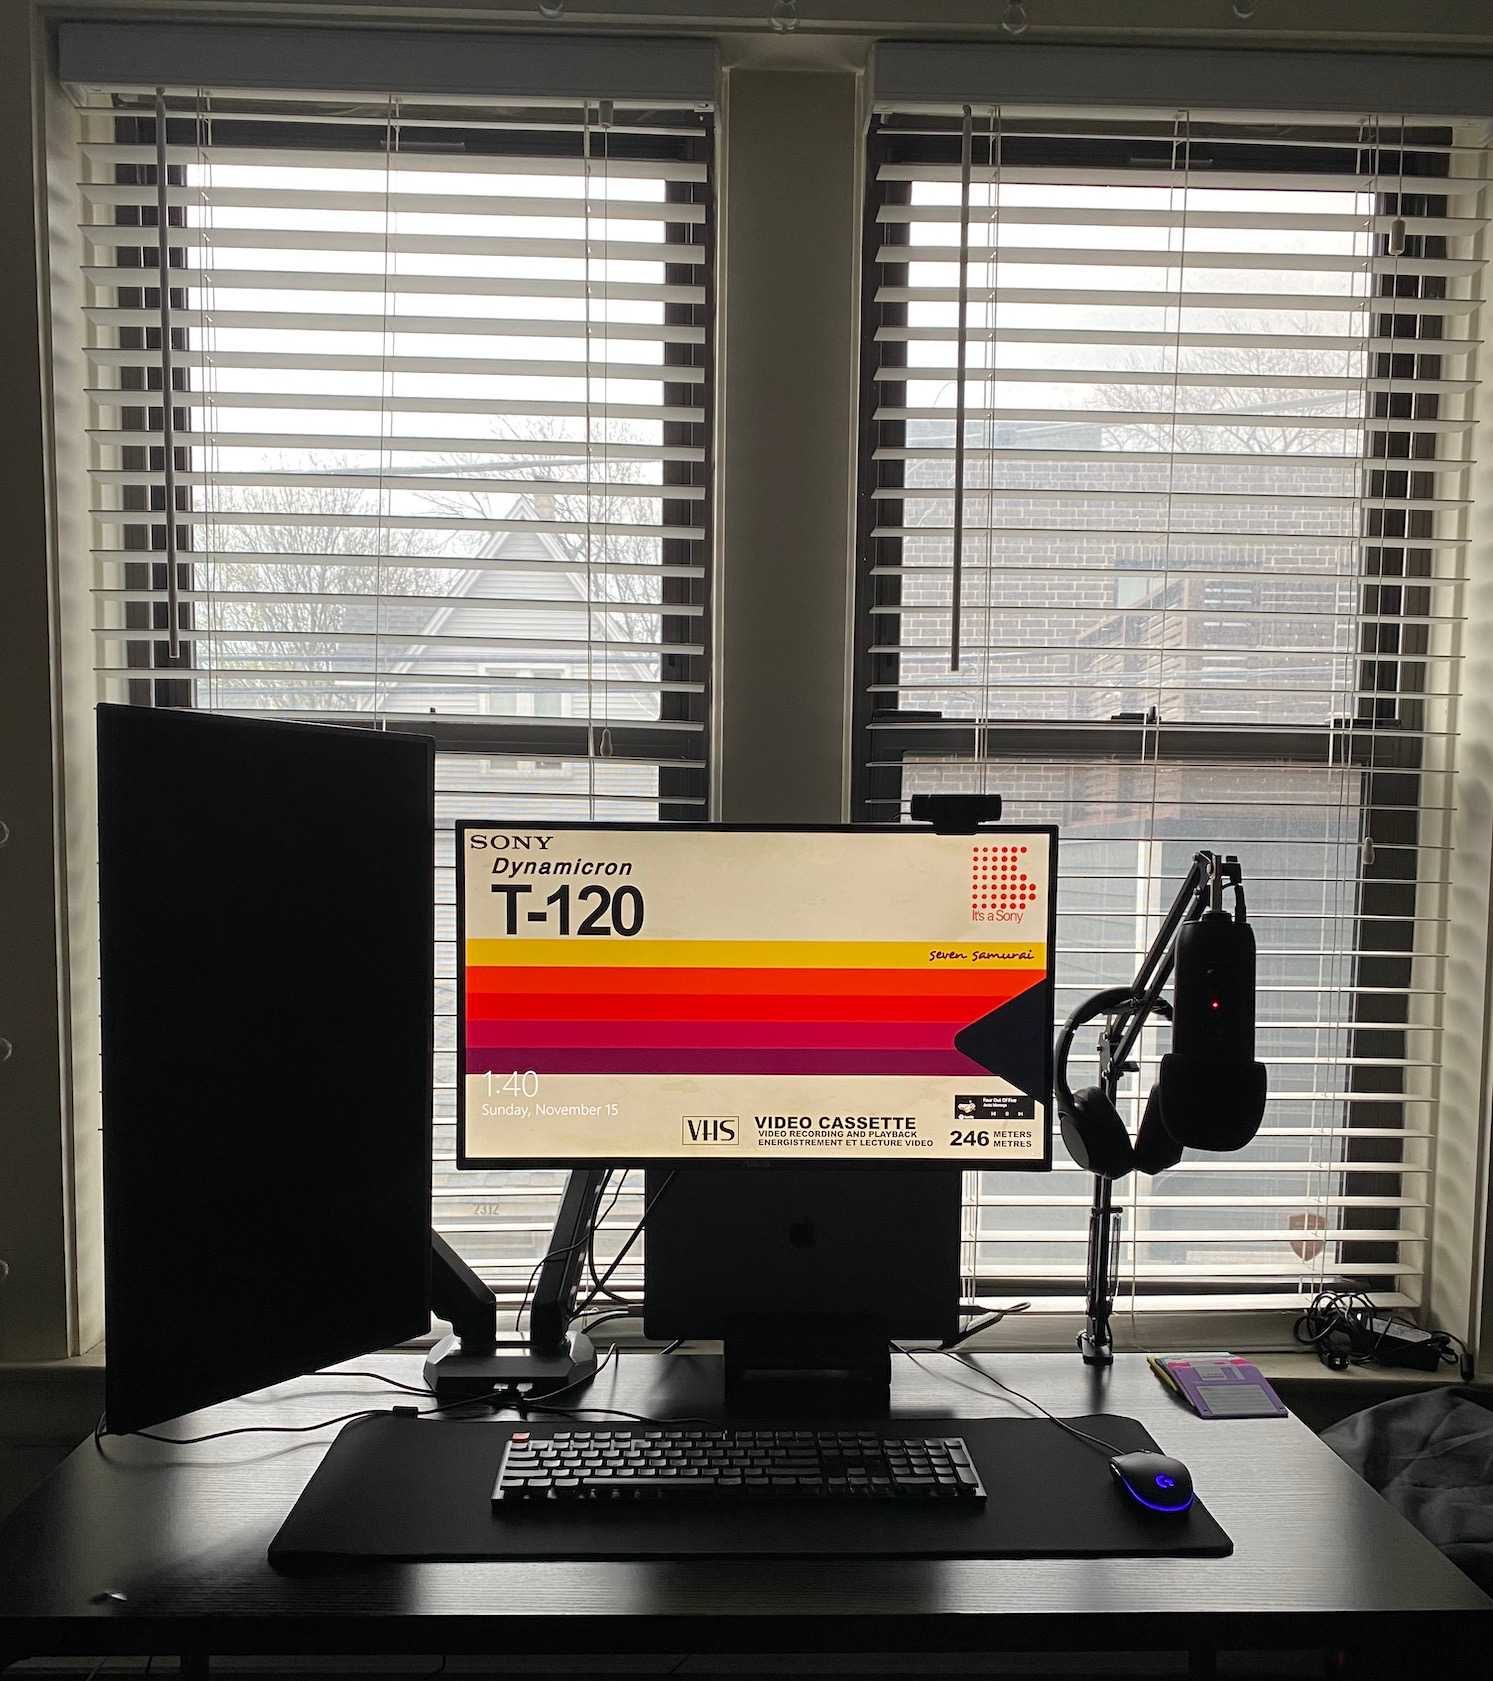
- Monitor - I got a gaming monitor that was 27" wide, 1440 pixel resolution, and 165Hz frame rate. I didn't really know what any of that meant until I did a bit of research, but I'm happy with the TUF Gaming VG27AQ Monitor for both work and play.
- Keyboard - I also got the Keychron K1 Wireless Mechanical Keyboard as I wanted something that would work with the Mac and wasn't too far off from the tiny clearance on the chiclet keyboard I'm used to. I still prefer just using the MacBook Pro keyboard and trackpad for working. It's just so much more convenient than a separate keyboard and mouse - I never have to move my arm back and forth to the mouse.
- Microphone - I already had a Blue Yeti mic for the occasional music recording needs and games, instead of a headset. And maybe I'll make an instructional video some day, who knows.
- Headphones - I also already had a Sony WH-1000XM3, high-quality wireless noise-cancelling headphones, which I use for listening to music, recording music, and games.
- Mouse - my mouse needs are not great, but I wanted something a little more decent than the $9 bargain bin mouse, so I got Logitech G203 Prodigy Programmable RGB Gaming Mouse. I did program it to stay violet-indigoish (I'm not a fan of it rotating between RGB colors).
For the first time in my life, I have decent gear and a cool set up. It took me months and months - almost a year - of working from home all day long to realize I should set up an actual office area, get an office chair, get a monitor, etc. It's still a work in progress - I'm planning on building a desk and setting it up nicely as well, so I don't have a cool "battlestation" to show off yet.
Conclusion
I've really enjoyed creating a little space for myself. We're all home a lot these days. Once again, I would really recommend anyone who uses a PC to build their own, even if they're not a gamer or a developer. It takes a little bit of research and time, but you can really create something that's your own. Hopefully this guide helps out some other beginners with the overwhelming world of PC building.
Comments